How do I use my Meta Quest 2 or 3 with TopSolid'Virtual software?
Prerequisites: Headset configuration
You've bought your QUEST 2 or QUEST 3 and it's never been switched on yet? Go to the Meta website to configure your headset: https://www.meta.com/fr/en/quest/setup/
Follow the instructions to turn on your headset, download the mobile application for the phone that will be linked to your headset.
1 - Install META QUEST application on your PC
On your PC, click on this link to install the Meta software, which will act as a driver between the PC and the headset.

2 - Connect the headset to your PC using a USB-C cable
To connect your headset to the PC, you need a high-speed cable. Meta Quest 2 & Pro accessories | VR accessories | Meta Quest
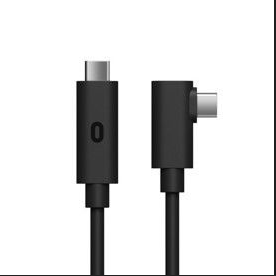
Connect it to a USB-C Thunderbolt port on your PC. To make sure the port is Thunderbolt, check that it has a lightning bolt symbol.
![]()
Connect the other end to the headset.
3 - Check that the headset is well recognized by the PC
On the Meta application, go to the Devices tab. A green icon will appear next to your headset if it is recognized.

If this is not the case, switch off your headset, close the Meta application (and also check that Virtual is also closed) and repeat the operations from step 2.
4 - Activate "Meta link" in the headset
Switch on your headset and put it on. Normally, a window will appear asking you if you wish to activate the Link function. Accept.
If not, click on the icon containing the battery charge indicator in the bottom left menu. You can then click on the “Quest link” button that appears on the menu.
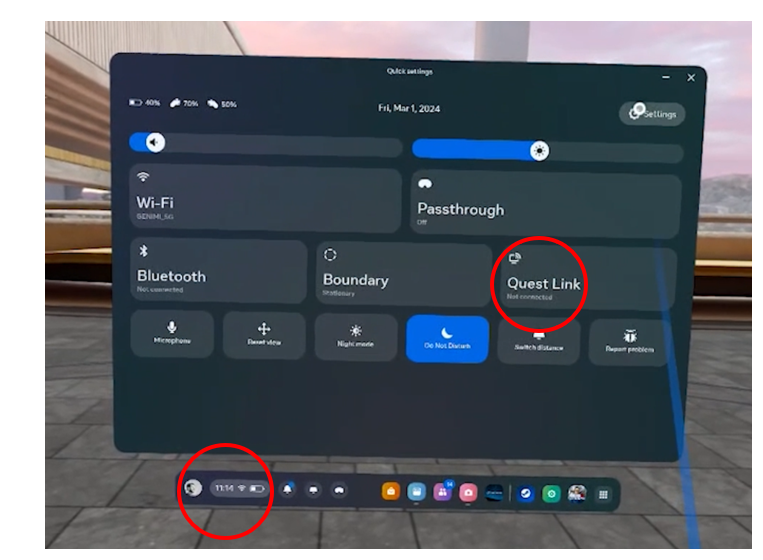
When “Meta Link” is activated, the environment in the headset should turn white, indicating that the headset is connected to the PC and that the PC is driving it.
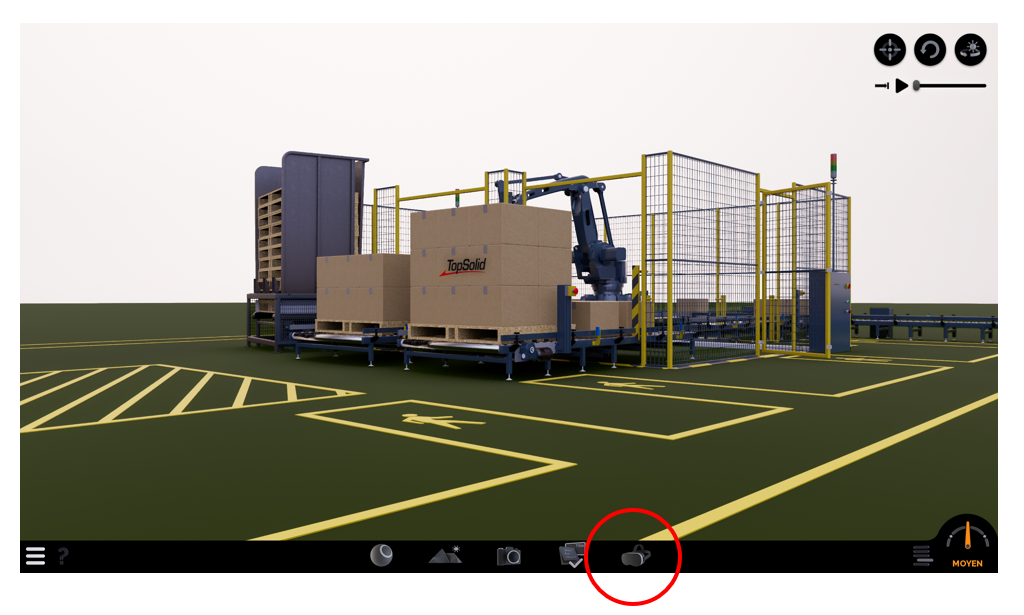
5 - Launch TopSolid'Virtual
The environment in the headset shows that the headset is recognized and ready for use.
Start TopSolid'Virtual and enjoy! The VR icon is at the bottom right.